How to Blanch Garlic: A Comprehensive Guide
Introduction
Garlic is a beloved ingredient in countless kitchens thanks to its depth of flavor and adaptability. Blanching—briefly boiling then chilling—tames its punch, softens the cloves, and sets a clean white color. This guide walks you through the simple steps and explains why the technique is worth adding to your routine.

What is Blanching?
Blanching means plunging food into briskly boiling water for a short spell, then scooping it into ice water to halt further cooking. The shock of cold locks in color, loosens skins, and creates a tender bite that is ideal for sauces, dressings, or any dish where you want a gentler garlic note.
Why Blanch Garlic?
Quick blanching offers three clear advantages:
1. Milder Flavor
A 60–90 second dip softens the sulfurous edge, letting garlic blend harmoniously with herbs, citrus, or delicate proteins instead of stealing the show.
2. Improved Texture
The brief heat relaxes the clove’s fibers, so it purees smoothly or minces into a silky paste, perfect for emulsions and marinades.
3. Brighter Appearance
Blanched cloves stay pearly white, giving dressings, tapenades, and plated dishes a clean, appetizing look.
How to Blanch Garlic
Follow these easy stages for consistent results:
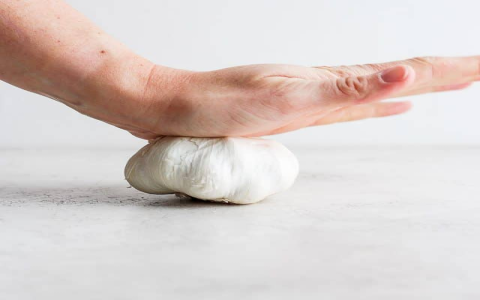
1. Prepare the Garlic
Separate the bulbs, trim root ends, and peel away the papery skins. A quick rinse removes any residual grit.
2. Boil Water

Fill a roomy saucepan three-quarters full, salt lightly if desired, and bring to a vigorous boil. Ample water keeps the temperature steady when the cloves go in.
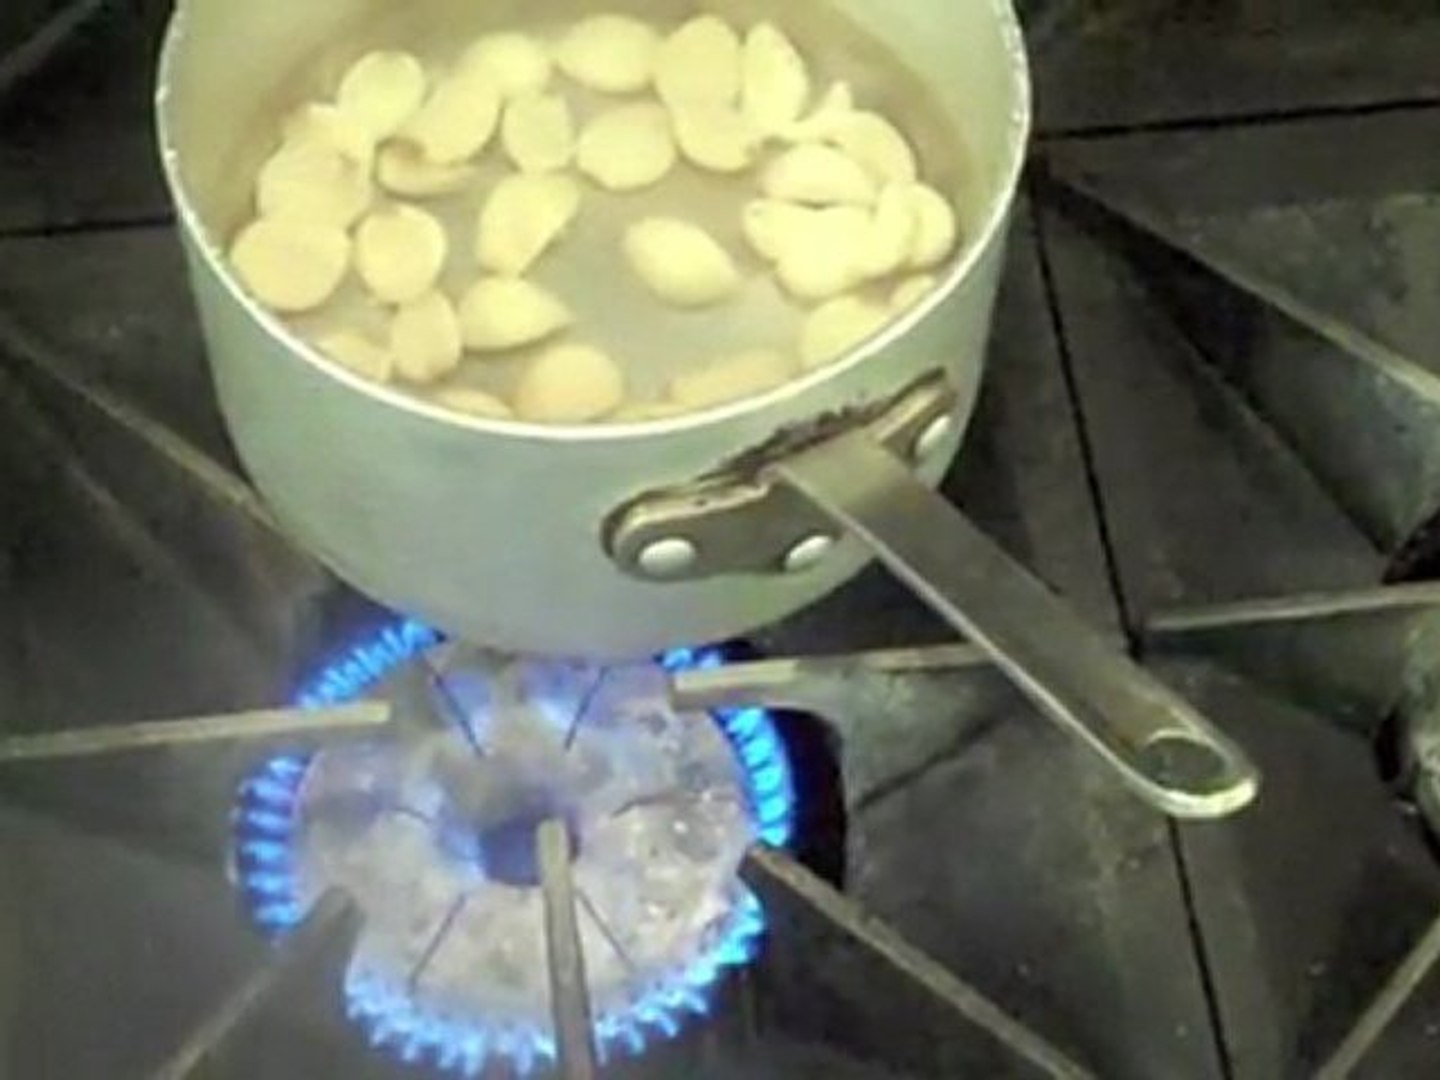
3. Add Garlic
Slide the peeled cloves into the pot in a single layer. Stir once so every piece is surrounded by water.
4. Blanch
Let small to medium cloves bob for 60 seconds; larger ones may need up to 2 minutes. They should feel just yielding when pressed.
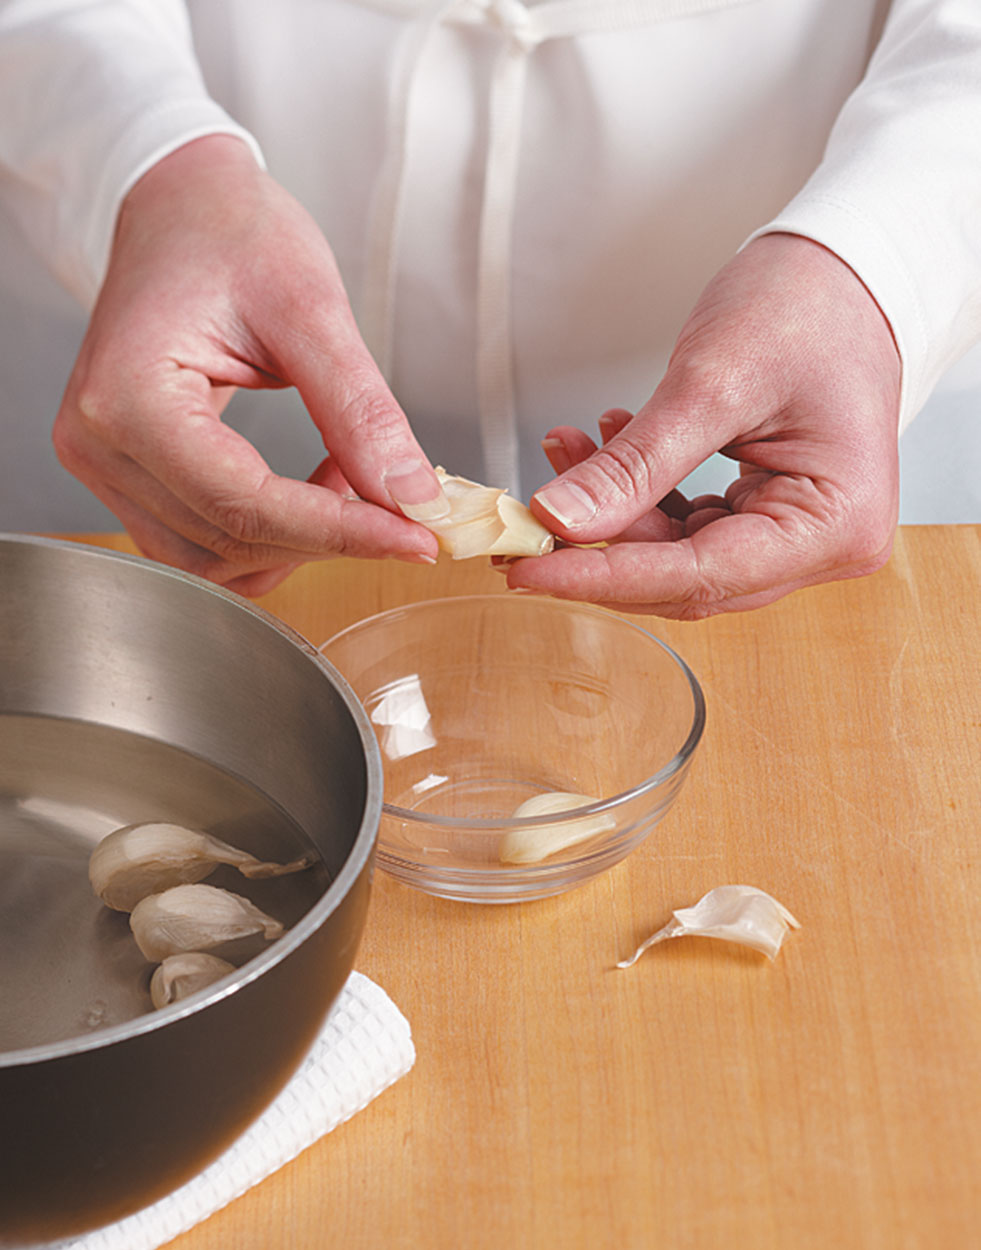
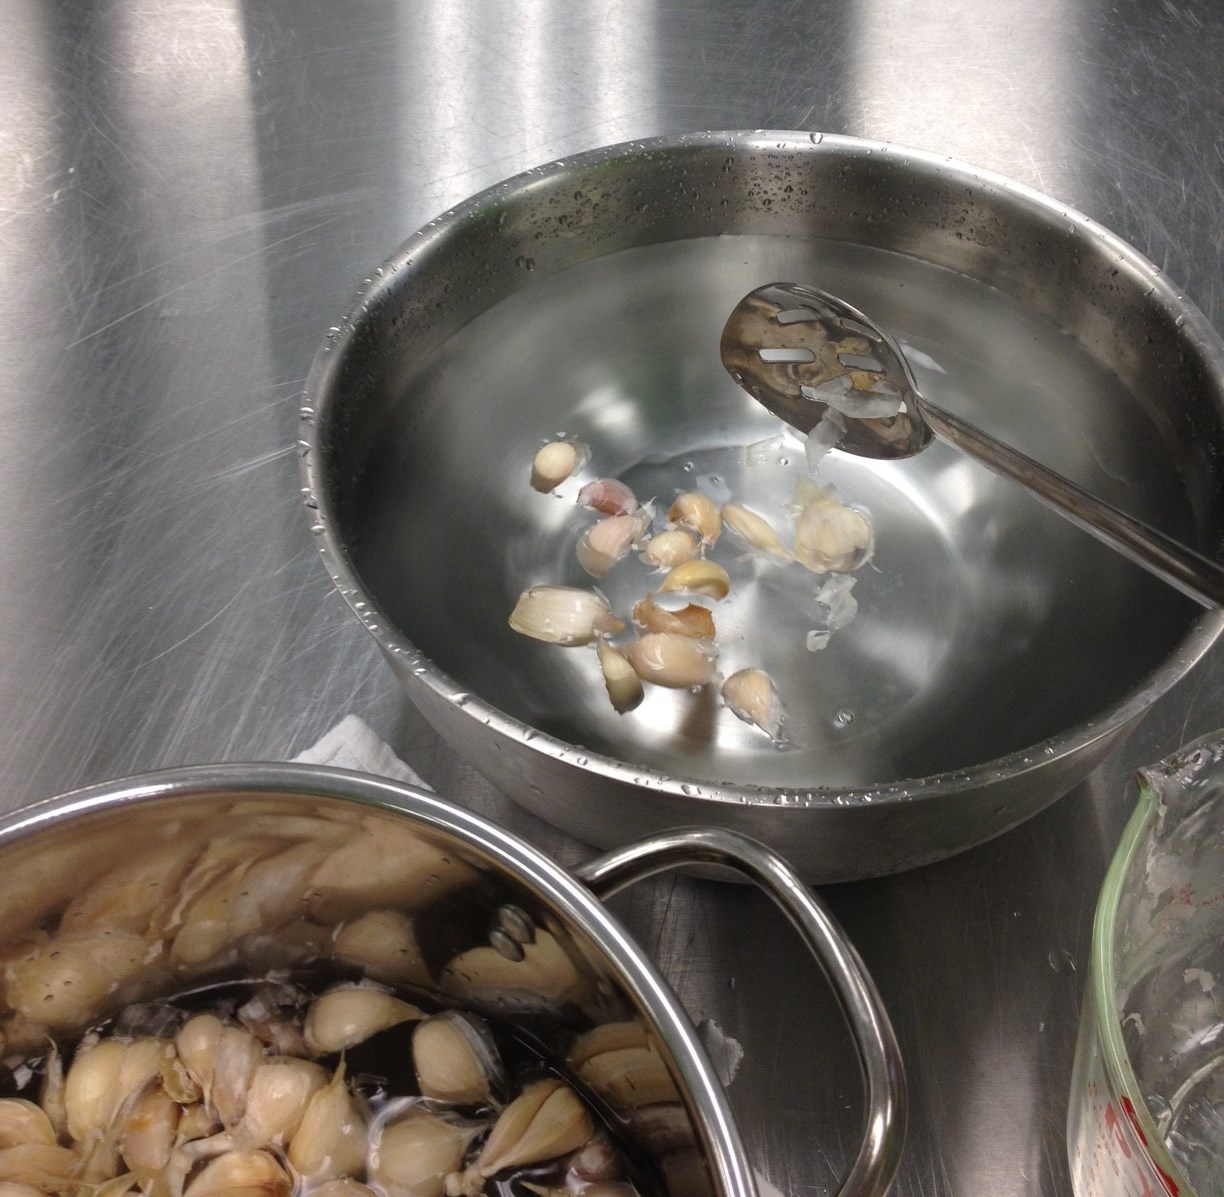
5. Plunge into Ice Water
Scoop the cloves into a bowl of ice water for the same length of time they boiled. This cools them fast and sets the color.
6. Drain and Use
Pat the cloves dry on a clean towel. They are now ready to chop, mash, or blend into your recipe.
Tips for Blanching Garlic

Keep these pointers in mind for flawless cloves:
1. Use Fresh Garlic
Firm, plump bulbs blanch evenly and taste sweeter than older, sprouting ones.
2. Adjust Cooking Time
Start tasting at 45 seconds; pull the cloves the moment they soften to avoid mushiness.
3. Use a Large Pot
Generous water volume prevents temperature drops and ensures uniform cooking.
4. Stir the Garlic
A gentle swirl keeps cloves from settling on the hot bottom and scorching.
Conclusion

Blanching is a small step that delivers big rewards—mellower flavor, supple texture, and pristine color. Once you fold this technique into your prep routine, you will find it elevates everything from aioli to roasted vegetables. Give it a try and taste the difference a minute in hot water can make.

